
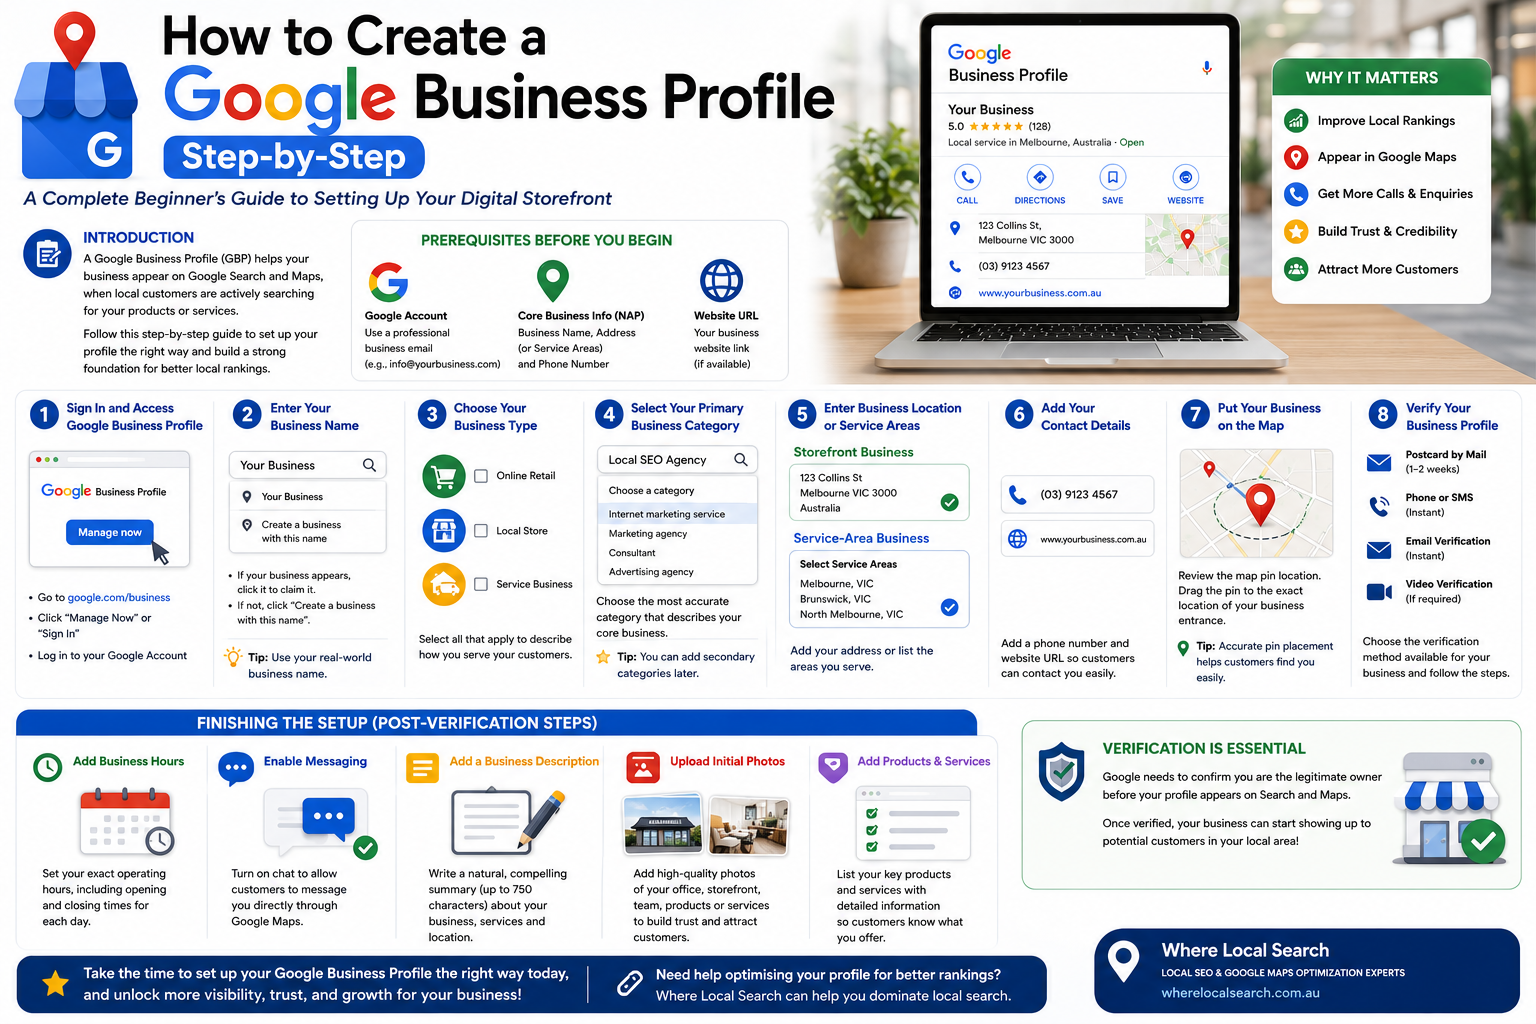
A Complete Beginner's Guide to Setting Up Your Digital Storefront
As explored in our previous guide, a Google Business Profile (GBP) is one of the most powerful, free tools available to boost your local visibility and bring in new customers. But before you can start optimising your profile to rank higher on Google Maps, you need to set it up correctly.
Creating a Google Business Profile is a straightforward process, but paying attention to the details during setup ensures you build a strong foundation for your Local SEO. Whether you run a physical shopfront like a café or a service-based business like a plumbing agency, this step-by-step guide will walk you through the entire creation process.
Prerequisites Before You Begin
Before you start the setup process, make sure you have the following ready:
📌 A Google Account: It is best to use a professional business email address (e.g., info@yourbusiness.com connected to Google Workspace) rather than a personal Gmail.
📌 Core Business Information (NAP): Your official business name, exact physical address (or service areas), and active phone number.
📌 Website URL: Your business website link (if you have one).
Step-by-Step Setup Guide
Step 1: Sign In and Access Google Business Profile
Open your web browser and go to the official website: google.com/business. Click the "Manage Now" or "Sign In" button in the top right corner and log in using the Google Account you want to associate with your business.
Step 2: Enter Your Business Name
Type your business name into the search box. If your business appears in a drop-down menu, it means a profile might already exist—click it to claim it. If it doesn't appear, click "Create a business with this name" or "Add your business to Google."
💡 Tip: Make sure your business name matches the real-world name used on your signage, website, and other directories. Avoid stuffing extra keywords here, as it violates Google’s terms.
Step 3: Choose Your Business Type
Google will ask you to specify how you serve your customers. Choose all that apply:
- Online Retail: If you sell products through an e-commerce website.
- Local Store: If you have a physical storefront where customers visit you (e.g., a restaurant or salon).
- Service Business: If you visit or deliver to customers directly (e.g., a plumber, electrician, or cleaning service).
Step 4: Select Your Primary Business Category
Start typing your industry or profession into the Business Category field and select the most accurate option from the drop-down list.
⚠️ Crucial Note: This is your Primary Category, which acts as one of the strongest local ranking signals. Choose the option that most precisely describes your core business.
Step 5: Enter Your Business Location or Service Areas
If you have a physical storefront, enter your exact address (Street, Suburb, State, and Postcode). If you are a service-based business without a physical shopfront, skip the address field and list the specific Service Areas you cover (e.g., specific suburbs or regions).
Step 6: Add Your Contact Details
Provide a clean, active business phone number and enter your official website link to drive direct web traffic from your listing.
Step 7: Put Your Business on the Map (Pin Customisation)
If you entered a physical address, Google will show a map with a red pin. Review the position of the pin carefully. Click and drag the pin to the precise location of your entrance so customers don't get lost when requesting directions.
Step 8: Verify Your Business Profile
Google needs to confirm that you are the legitimate owner before your profile goes public. Verification options include:
- Postcard by Mail: A physical postcard with a 5-digit code sent to your business address (takes 1–2 weeks).
- Phone or SMS Verification: A quick code sent via automated call or text.
- Email Verification: Code sent to your registered business email.
- Video Recording/Live Video: Recording a short video of your business interior, equipment, and proof of address.
Finishing the Setup (Post-Verification Steps)
Once the verification step is initiated or completed, Google will allow you to add initial details to make your storefront look appealing right away:
Specify your exact operating hours, including opening and closing times for each day of the week.
Turn on the chat feature so customers can message your business directly through Google Maps.
Write a natural, compelling summary (up to 750 characters) explaining who you are, what you offer, and your location.
Add high-quality images of your office interior, storefront exterior, team, or products to build instant visual trust.